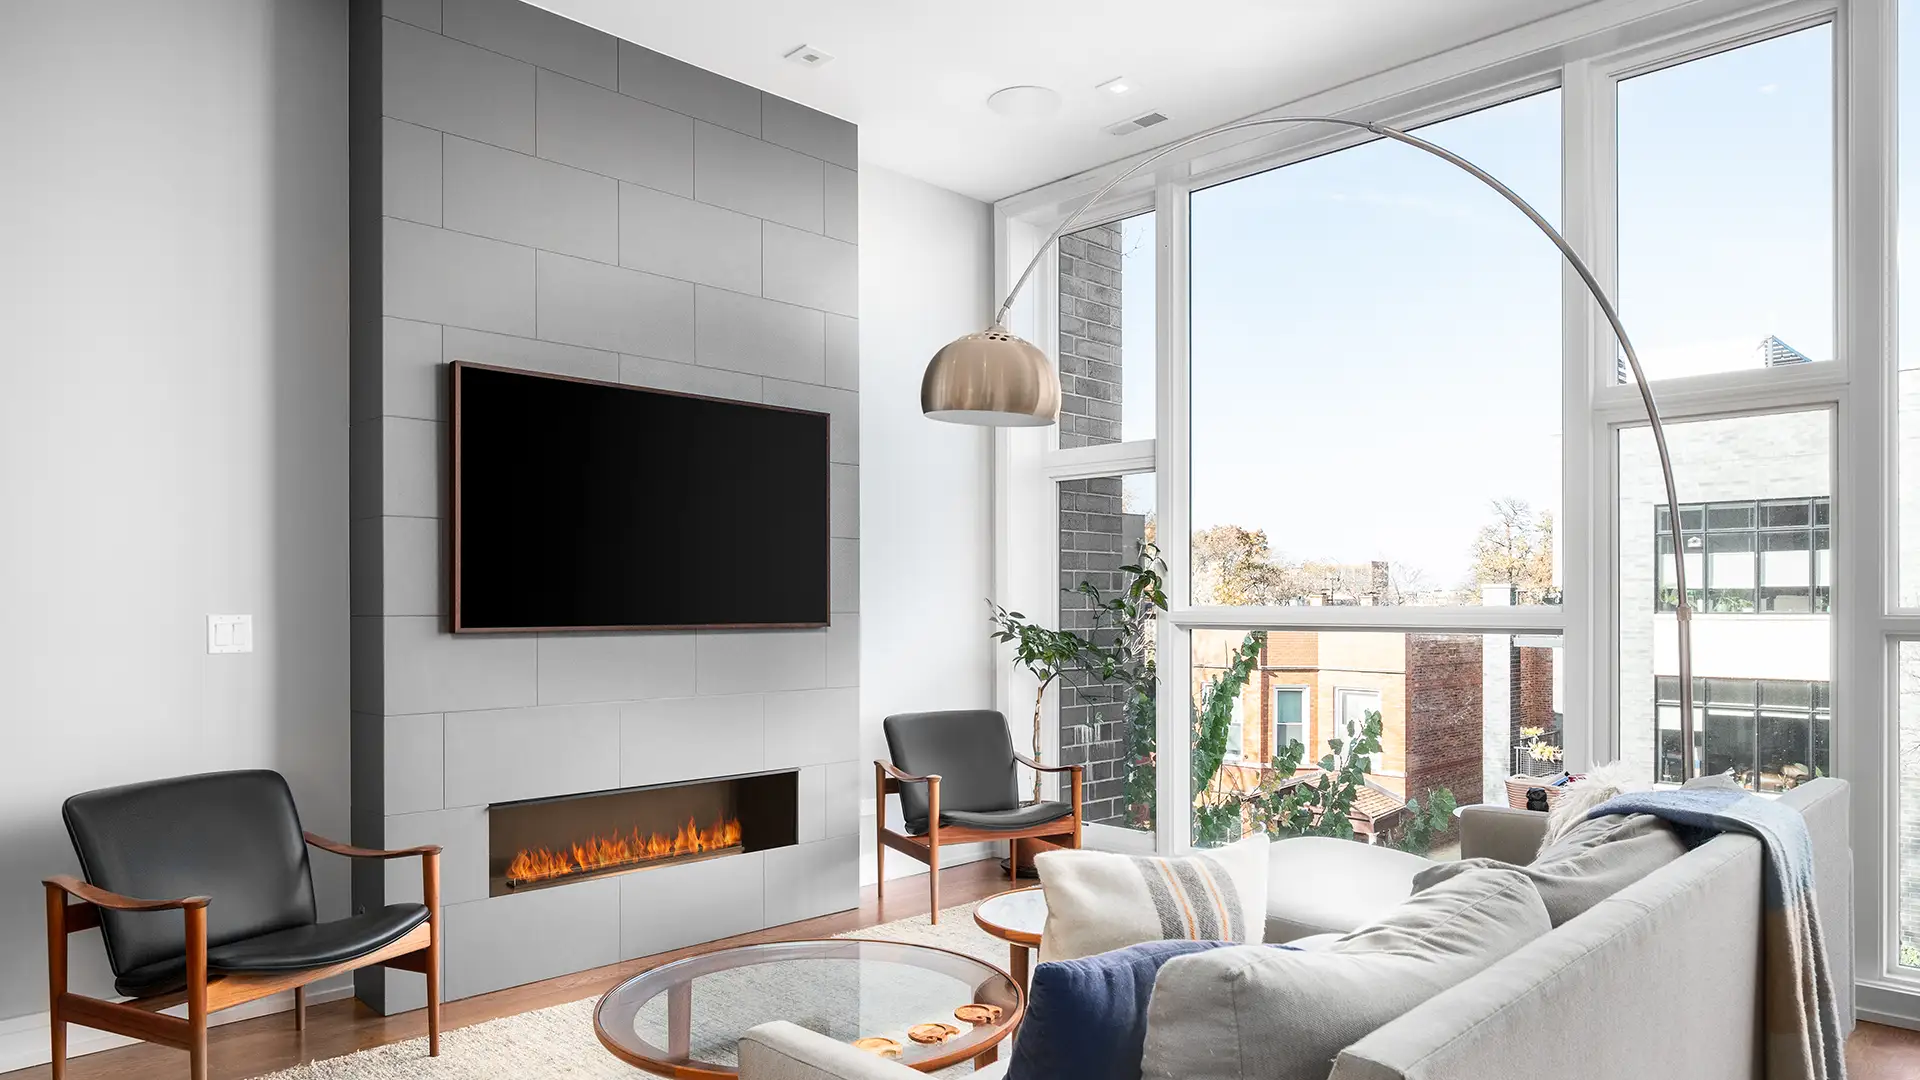
Master the Art of TV Mounting: Tips and Tricks for a Perfect Setup
Welcome back to the Fort Mill Handyman blog, where today we’re diving into everything you need to know about TV
Fixing It Right, The First Time!
Lighting is an integral part of any or commercial space. It not only illuminates our surroundings but also sets the mood, affects how we perceive space, and can be used to highlight architectural features or artwork. With technology advancing and the range of lighting options expanding, proper installation becomes increasingly crucial to ensure both aesthetic allure and functional efficiency. This article aims to serve as a comprehensive guide to lighting installation, covering various considerations and steps involved in this essential process.
Before diving into lighting installation, it’s important to have a grasp of some basic concepts. There are three primary types of lighting:
1. Ambient Lighting: Also known as general lighting, ambient lighting provides a space with overall illumination. This is the base layer of lighting, allowing for safe movement and basic visibility.
2. Task Lighting: As the name suggests, task lighting is focused on a specific area to aid in activities such as reading, cooking, or work that requires attention to detail.
3. Accent Lighting: This type of lighting is used draw attention to particular objects or areas, often for aesthetic purposes, such as highlighting artwork or architectural features.
The choice and placement of these lighting types should be dictated by the function of the space and the mood that the owner wishes to create.
Good lighting installation begins with a solid plan. Here are the key steps:
1. Evaluate the Space
Assess the area where the lighting will be installed. Consider room size, ceiling height, colors, natural light, furniture layout, and the purpose of the space. This evaluation will guide the selection of lighting fixtures and their optimal placement.
2. Create a Lighting Scheme
Design a lighting scheme that combines ambient, task, and accent lighting to achieve a balanced and functional space. Use a mixture of overhead lights, floor lamps, wall-mounted fixtures, and under-cabinet or in-cabinet lighting to diversify your sources and intensities of light.
3. Choose Appropriate Fixtures
When selecting fixtures, consider both aesthetics and functionality. Choose designs that complement the room’s interior while providing the right amount of light. Be aware of the color temperature of lighting—warmer lights foster a cozy atmosphere, while cooler lights are ideal for concentration and alertness.
4. Consider Energy Efficiency
Opt for energy-efficient lighting options such as LED, which, while often higher in initial cost, provide long-term savings through lower electricity use and less frequent need for replacement.
The safety and quality of your lighting installation are paramount. If you’re not experienced with electrical work, it’s highly recommended to hire a professional electrician to handle the installation. If you decide to undertake the installation yourself, here are steps and safety precautions you must follow:
1. Turn Off the Power
Before starting any installation work, ensure that the power to the area is turned off at the circuit breaker. This is critical to prevent electrical shock or accidents.
2. Prepare the Work Area
Gather all tools and equipment necessary for the installation, such as a ladder, wire stripper, screwdriver, and drill. Make sure you have adequate lighting from an alternative source while you work.
3. Remove Old Fixtures
If replacing existing lighting, carefully remove the old fixtures. Detach any screws and gently pull the fixture away from the ceiling or wall, then disconnect the wires.
4. Install the Mounting Bracket
Most fixtures come with a mounting bracket that attaches to the electrical box. Secure this in place according to the manufacturer’s instructions.
5. Connect the Wires
Connect the fixture’s wires to the corresponding wires in the electrical box. Usually, this means matching the colors—black to black, white to white—and using wire nuts to secure them. The grounding wire (often bare or green) should be connected to the grounding screw on the bracket or box.
6. Attach the Fixture
Carefully push the wires into the electrical box and align the fixture with the mounting bracket. Fixture types vary widely, so follow the specific installation steps provided by the manufacturer. Once installed, secure it with the provided screws or nuts.
7. Restore Power and Test
Turn the power back on and test the fixture. If everything is working correctly, finish by installing any remaining components, such as light bulbs or glass covers.
Considerations for Special Types of Lighting
Recessed Lighting
Installing recessed lighting requires cutting holes in the ceiling and placing the fixture inside. This type of installation often requires additional insulation to prevent the lights from being in direct contact with home insulation, which can be a fire hazard.
Pendant Lights and Chandeliers
For heavier fixtures like pendant lights or chandeliers, verify that the electrical box is rated to support the weight. You may need to install a new box that is better suited for heavy fixtures.
Smart Lighting
Smart lighting systems involve more intricate configurations. They often require a central hub and an internet connection for smart features like remote control or voice activation.
Quality lighting installation enhances the functionality, safety, and aesthetics of a space. It requires careful planning, selection of fixtures, and meticulous installation. While homeowners can undertake some aspects of this process, professional assistance is invaluable for complex installations or where safety is a concern. With the right approach, lighting can transform a space, setting the ambiance and desired while meeting practical needs. Whether in a home, office, or commercial environment, proper lighting installation is an investment in comfort, efficiency, and design.
Our Lighting Installation and Repair Service is offered throughout Fort Mill and York County including zip codes 29702, 29703, 29704, 29706, 29707, 29708, 29710, 29712, 29715, 29716, 29717, 29726, 29730, 29731, 29732, 29733, 29734, 29742, 29743, 29745.
Contact Fort Mill Handyman today at (803) 990-3099 to schedule your free consultation.
Experience the Fort Mill Handyman difference—where we combine precision, punctuality, and a steadfast guarantee to deliver services that not only meet but exceed your expectations every time.

Our team of certified professionals brings years of industry experience to ensure top-notch quality and efficiency in every service provided.
Our team is committed to completing projects on schedule and always being available when you need us, ensuring minimal disruption to your daily life.
We prioritize your satisfaction with dedicated support and transparent communication, ensuring a smooth and stress-free experience from start to finish.
We stand behind our work with a commitment to quality, ensuring that every job is done to the highest standards and backed by a happiness guarantee.

Explore our gallery of completed projects to see the high-quality workmanship and attention to detail that Fort Mill Handyman brings to every job. From elegant home renovations to functional outdoor spaces, each project showcases our commitment to excellence and customer satisfaction.
Welcome back to the Fort Mill Handyman blog, where today we’re diving into everything you need to know about TV

Welcome to the Fort Mill Handyman blog, your trusted source for insights on maintaining and enhancing your home. Today, we’re